Day 38 Getting Started with AWS Basics☁
AWS:
Amazon Web Services is one of the most popular Cloud Providers that has a free tier for students and Cloud enthusiasts for their Hands-on while learning (Create your free account today to explore more on it).
IAM:
AWS Identity and Access Management (IAM) is a web service that helps you securely control access to AWS resources. With IAM, you can centrally manage permissions that control which AWS resources users can access. You use IAM to control who is authenticated (signed in) and authorized (has permissions) to use resources.
Task1:
Create an IAM user with the username of your own wish and grant EC2 Access. Launch your Linux instance through the IAM user that you created now and install Jenkins and Docker on your machine via a single Shell Script.
To create an IAM user with EC2 access, follow these steps:
Log in to the AWS Management Console.
Go to the IAM service and click on "Users" in the left menu
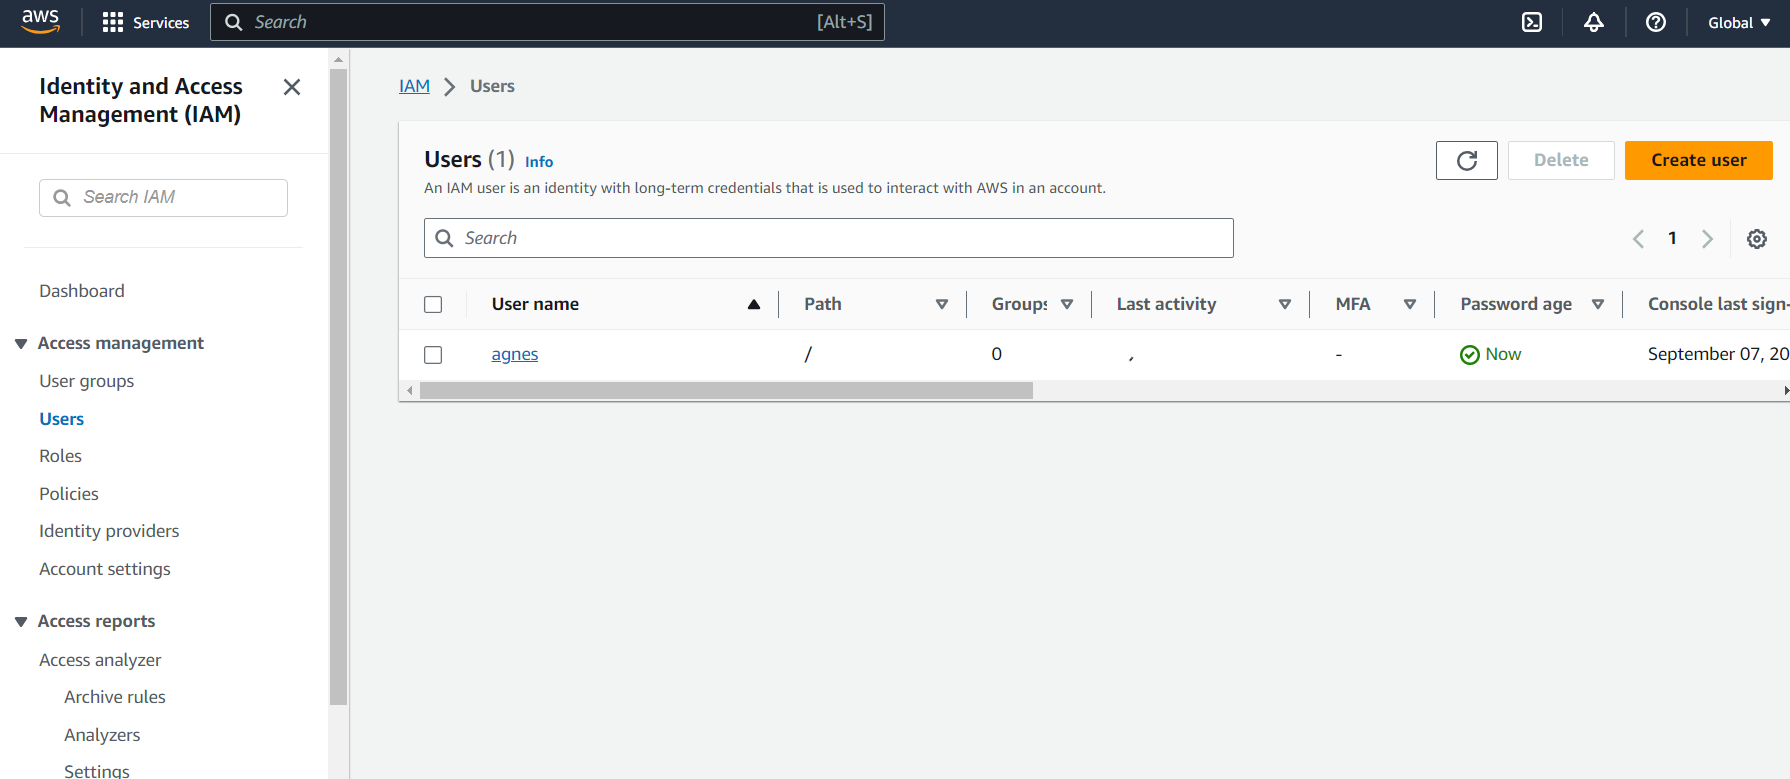
Click on "create user" and enter a username of your choice.
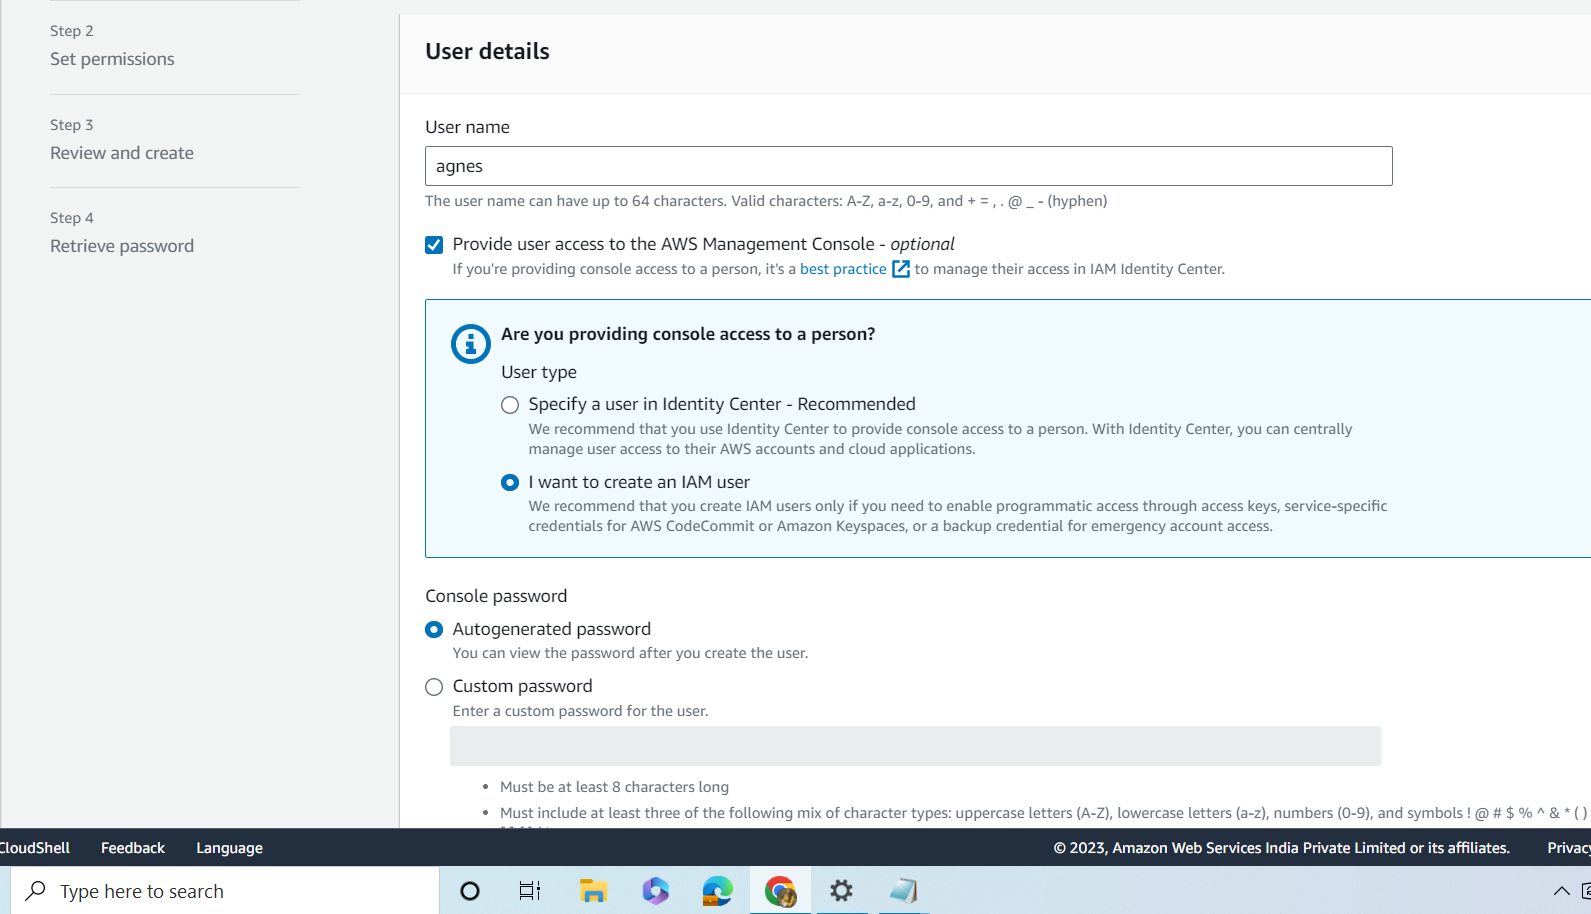
Select "Programmatic access" and click "Next".
Select "Attach existing policies directly" and select the policy "AmazonEC2FullAccess".
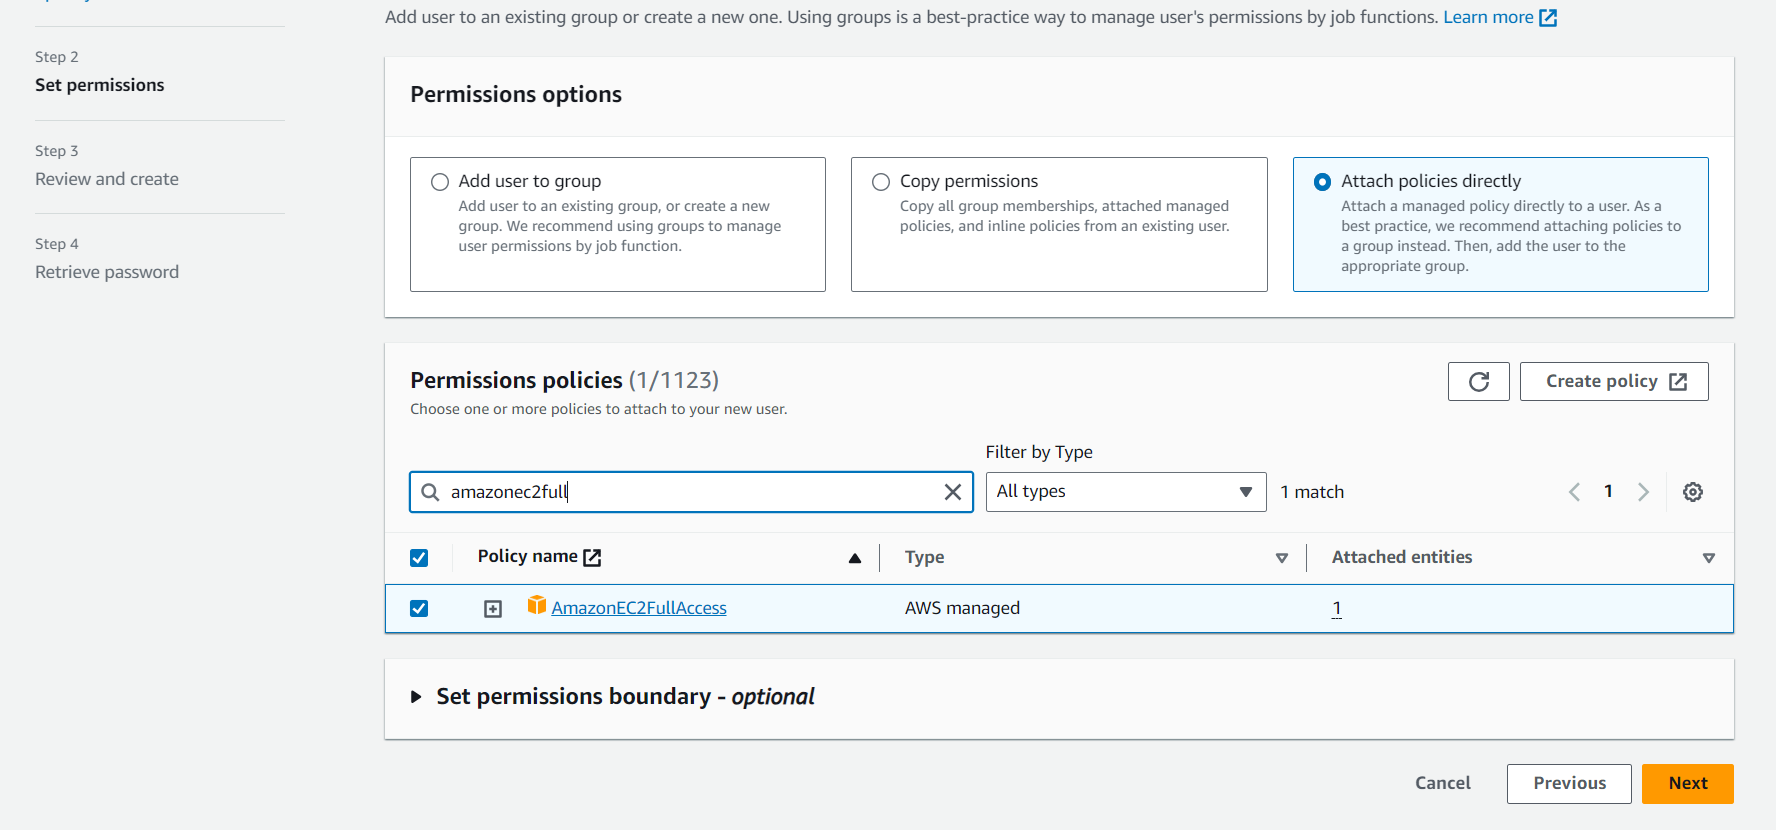
Click "Next" until you reach the end, and then click "Create user".
Take note of the username and password, as you will need these to authenticate your IAM user when launching instances.
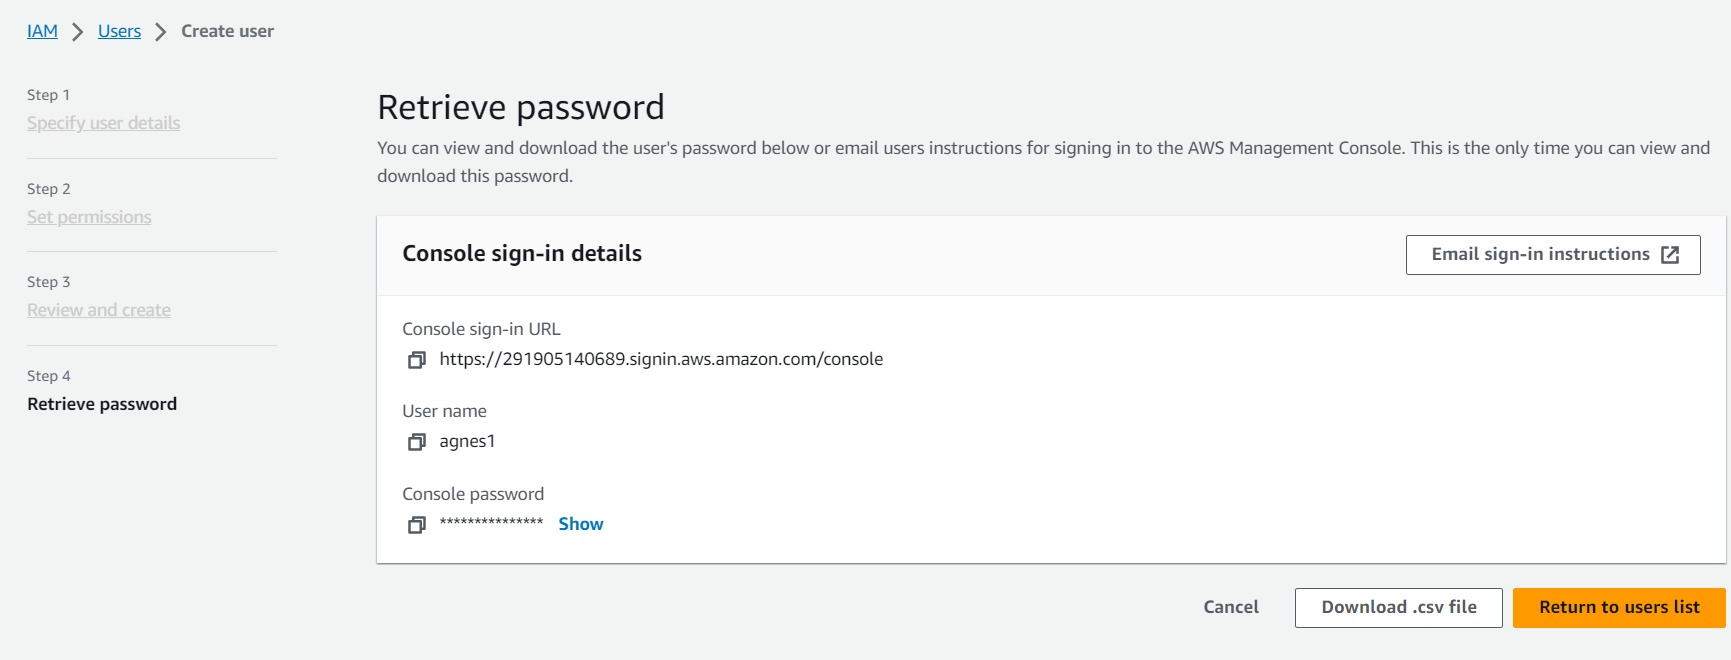
To launch a Linux instance using your IAM user, follow these steps:
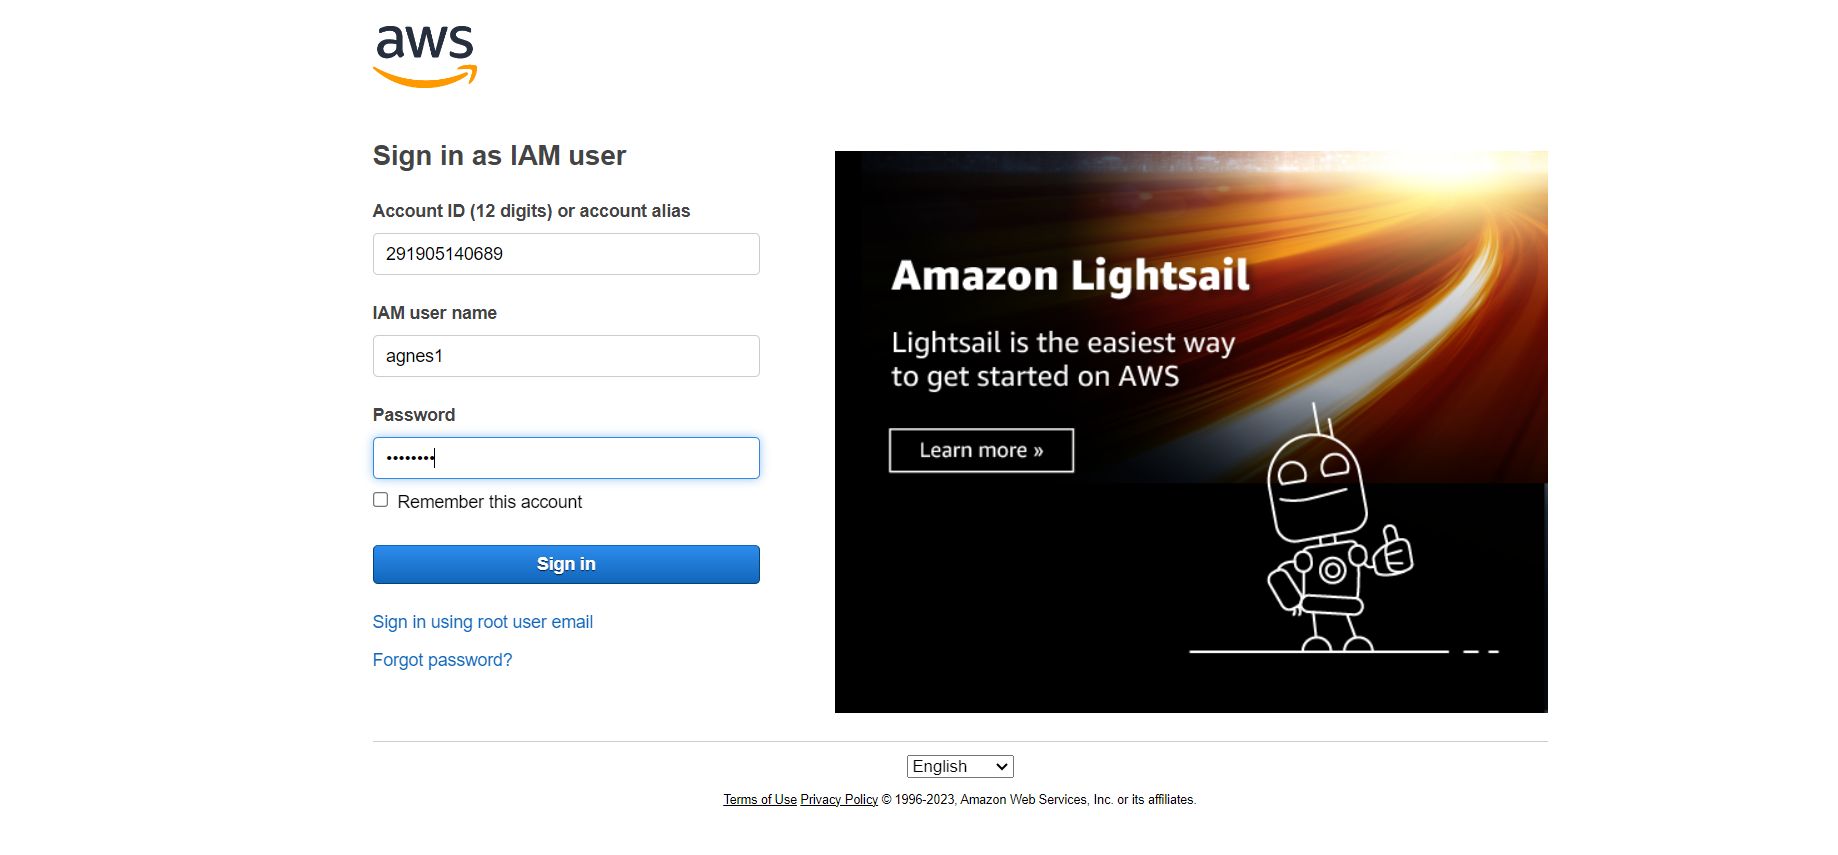
Sign in AWS account as IAM user which we created above.
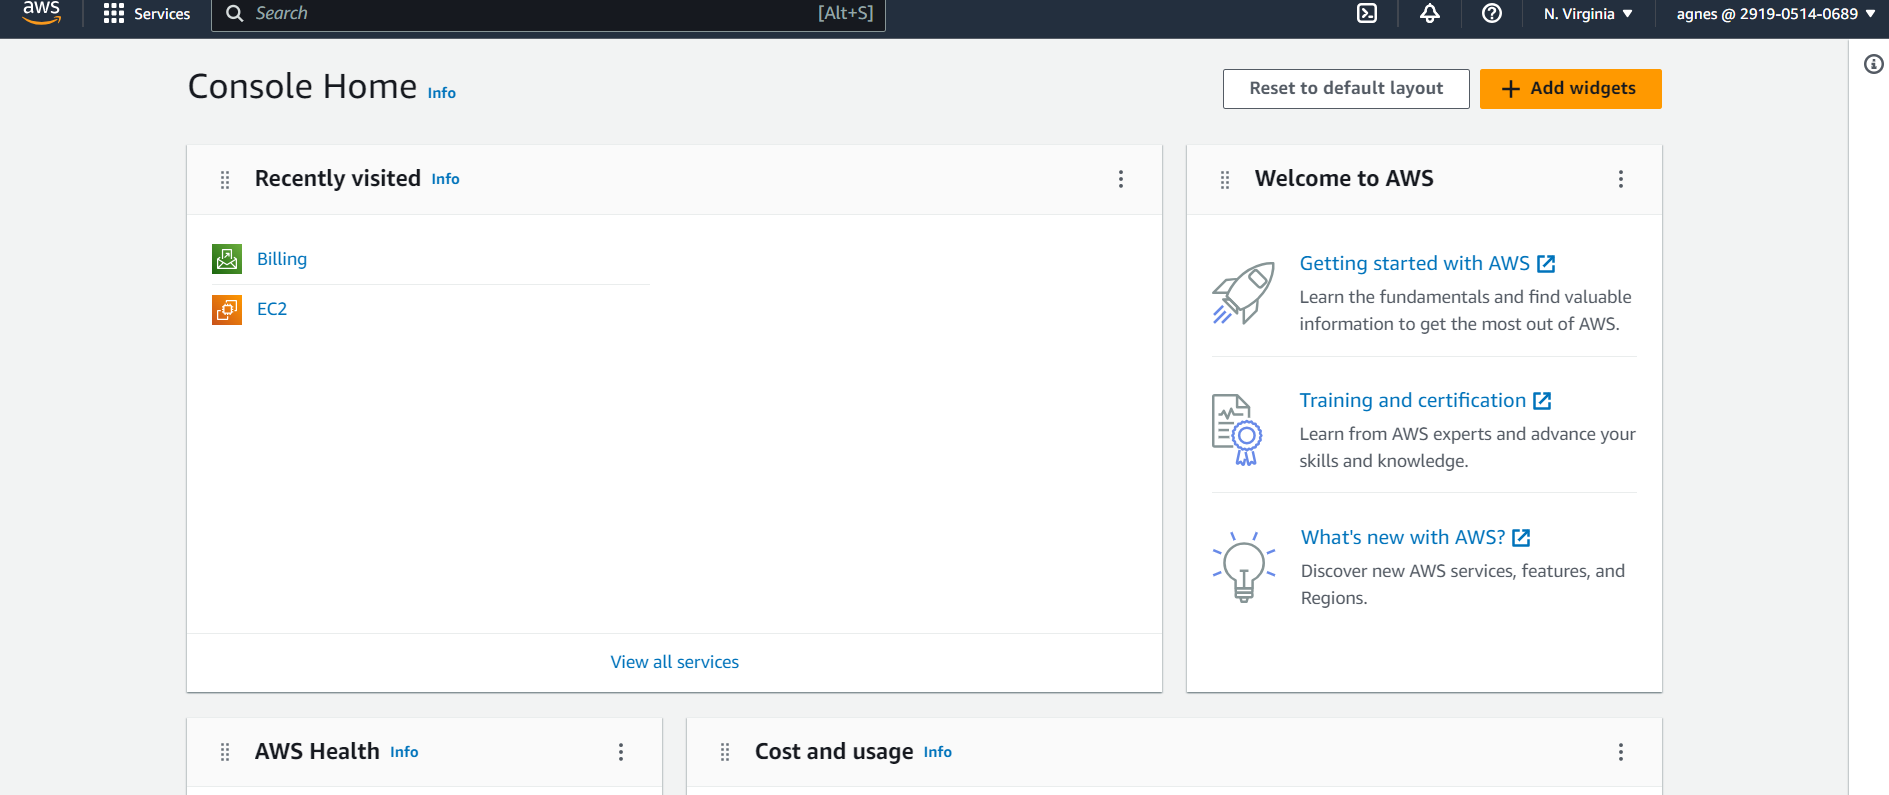
Go to the EC2 service and click on "Launch instance".
Choose a Linux AMI.
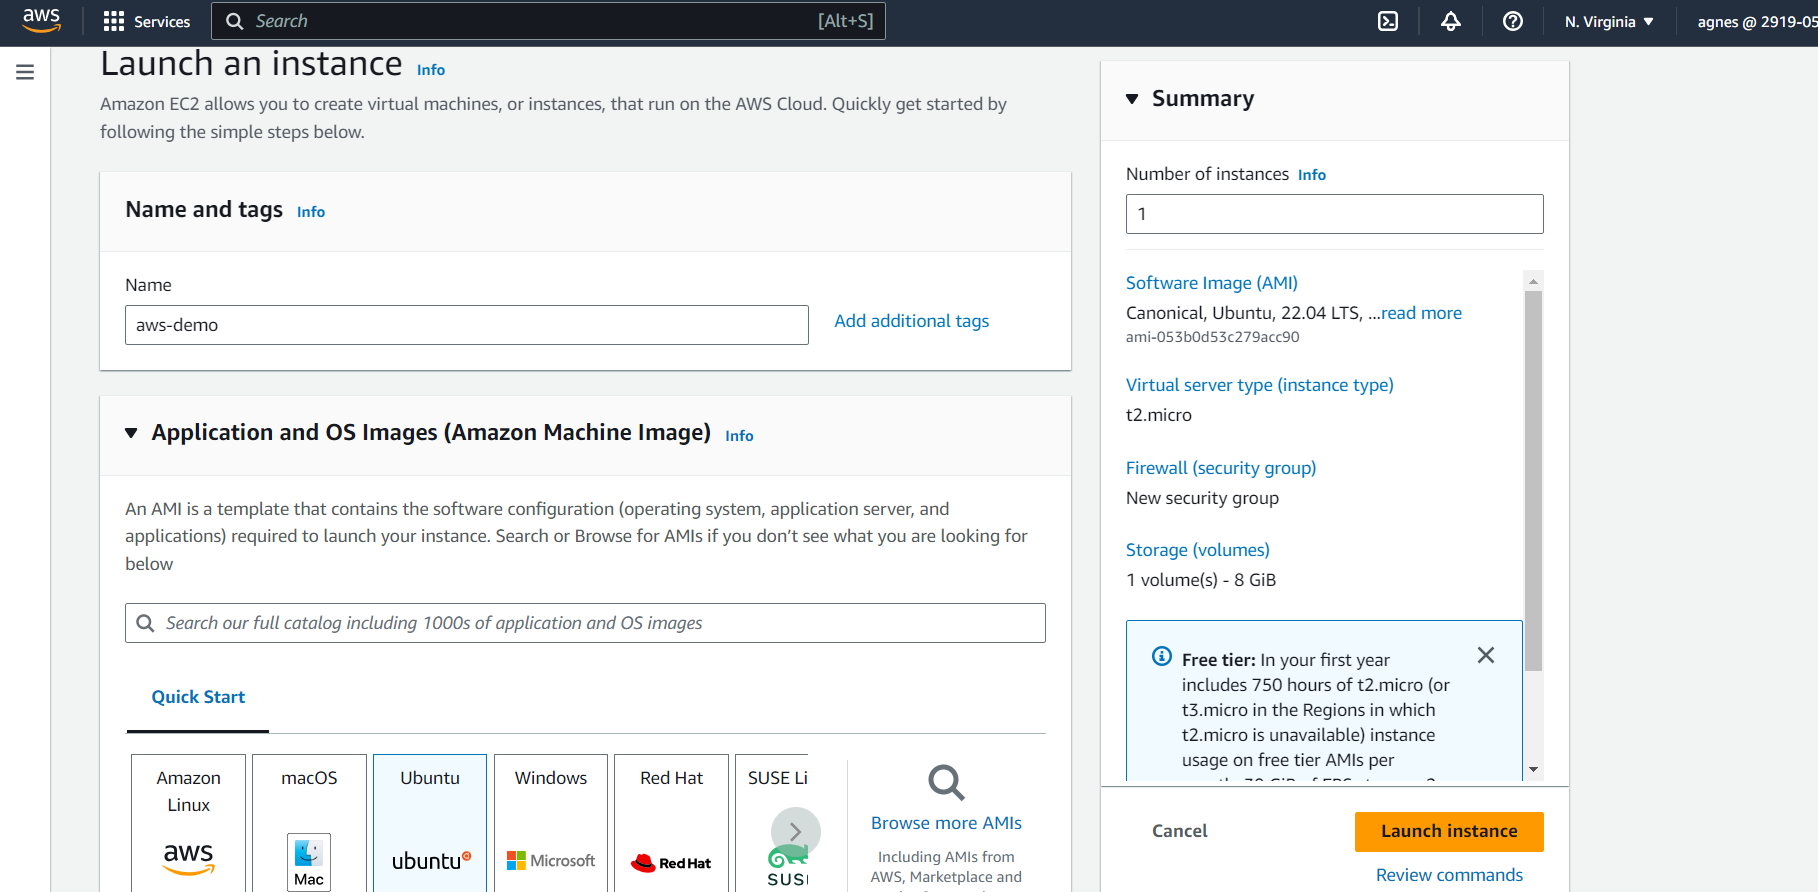
Select an instance type t2.micro and create a new key pair.
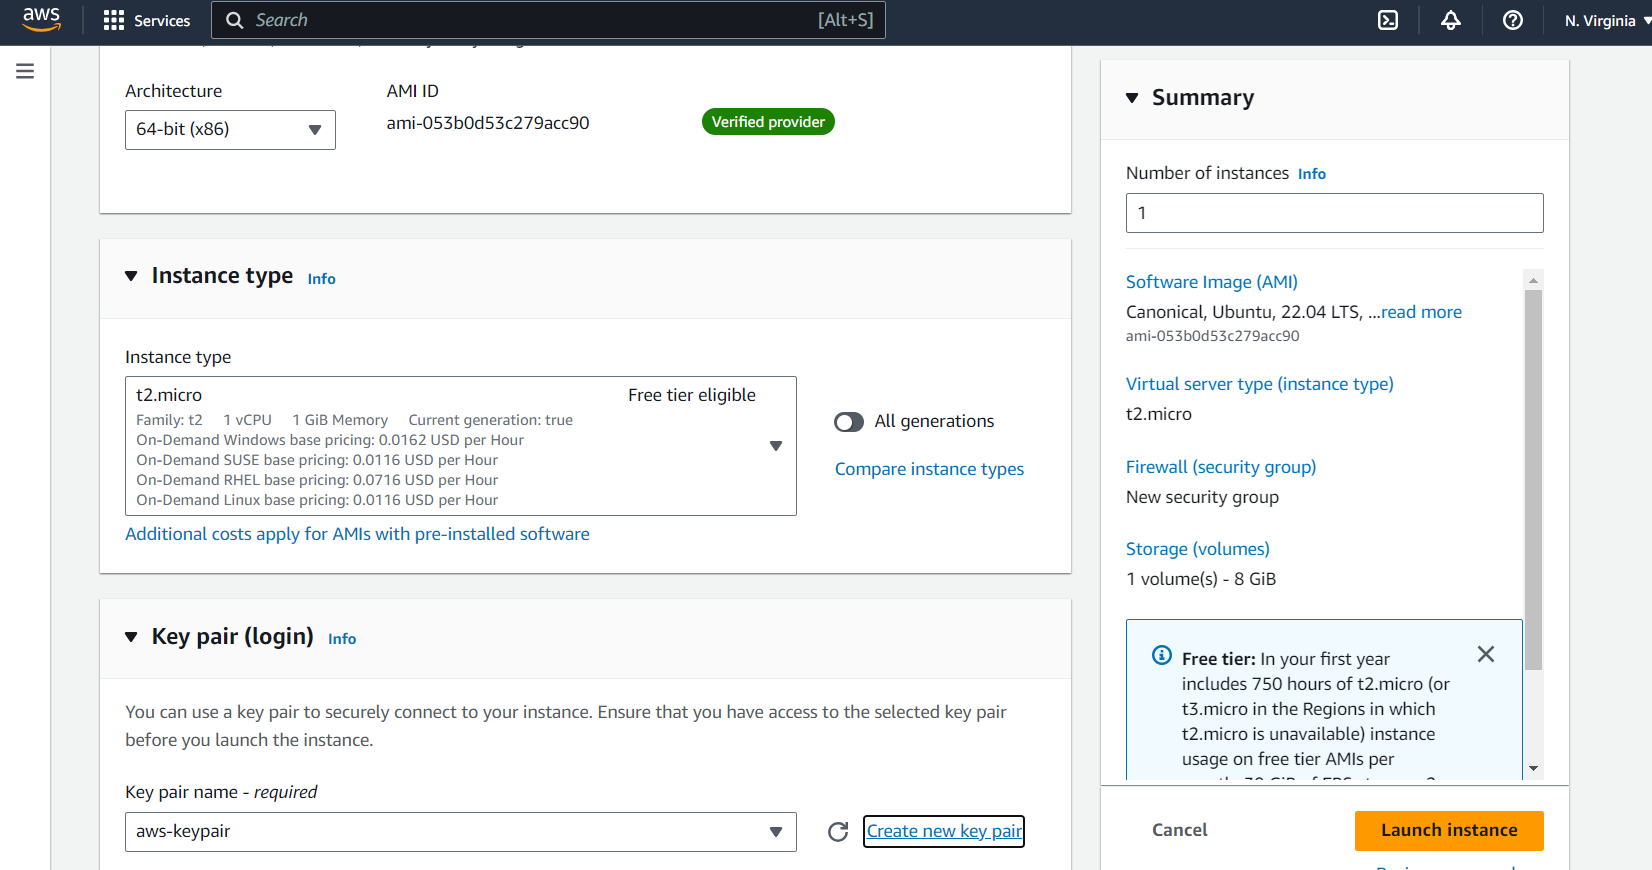
Log in ec2 instance using ECW instance connect or we conect with SSH

Install jenkins and docker on your machine via single Shell Script.
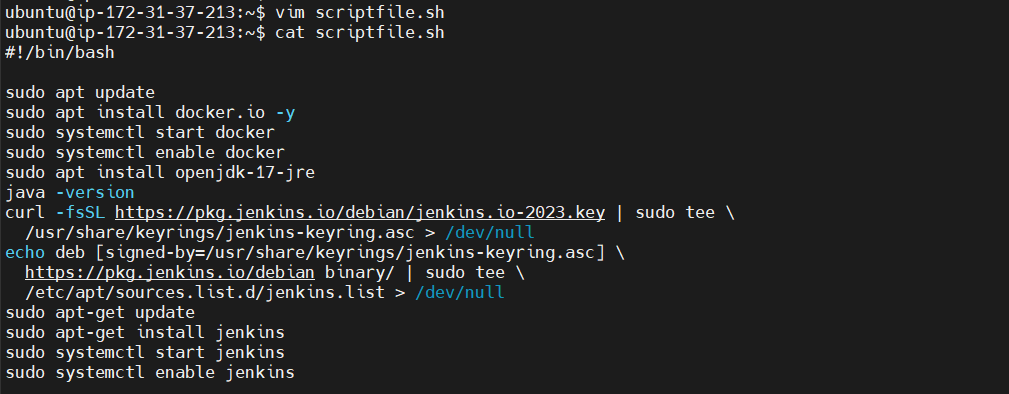
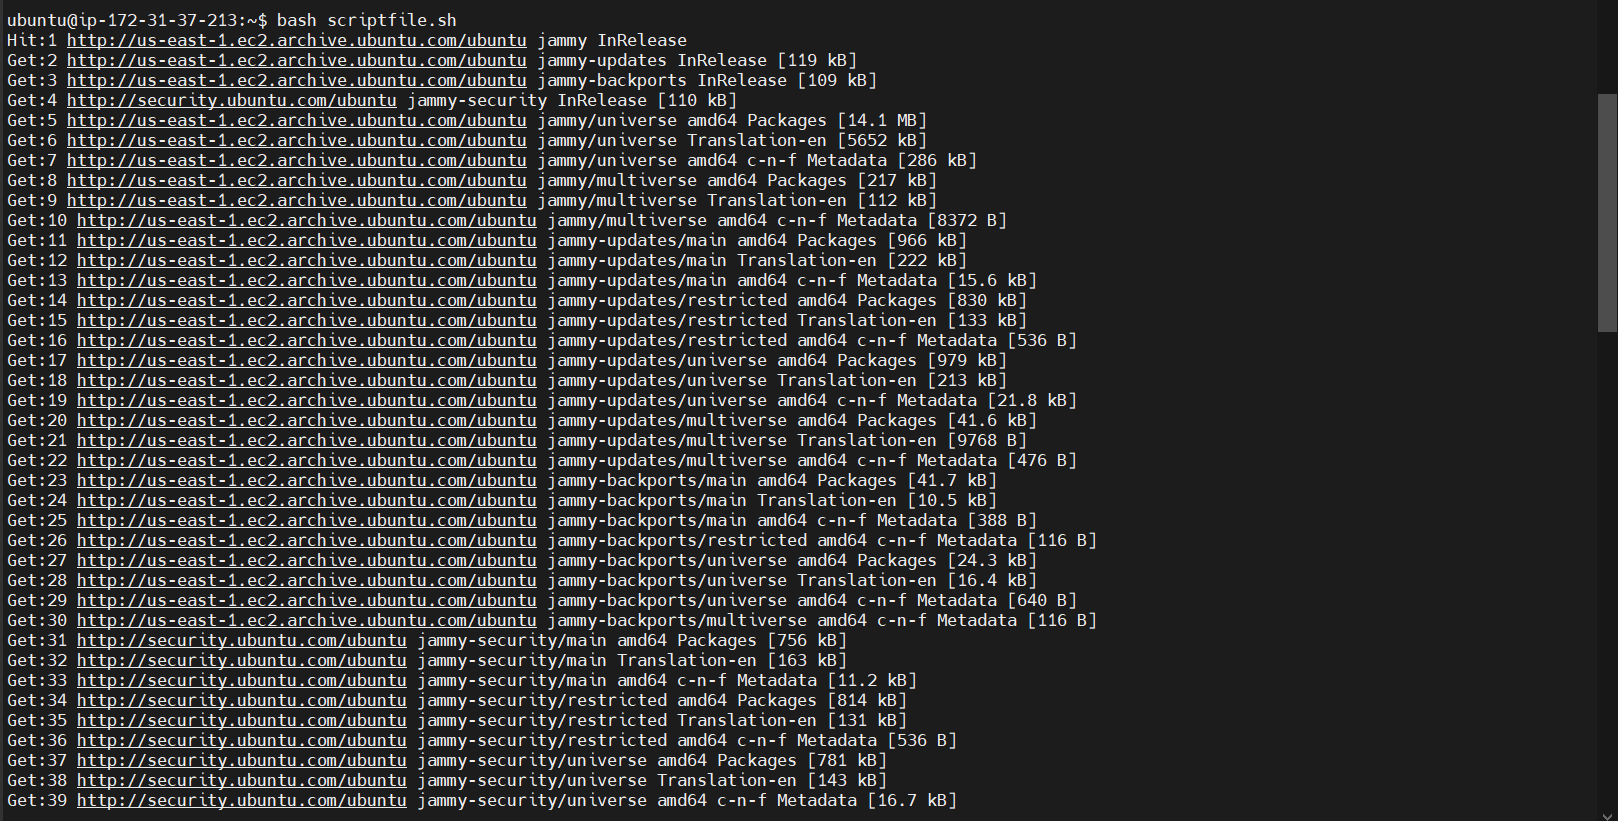
Check the docker and Jenkins version

Task2:
In this task, you need to prepare a DevOps team of avengers. Create 3 IAM users of Avengers and assign them in devops groups with IAM policy.

Create 3 IAM users of avengers
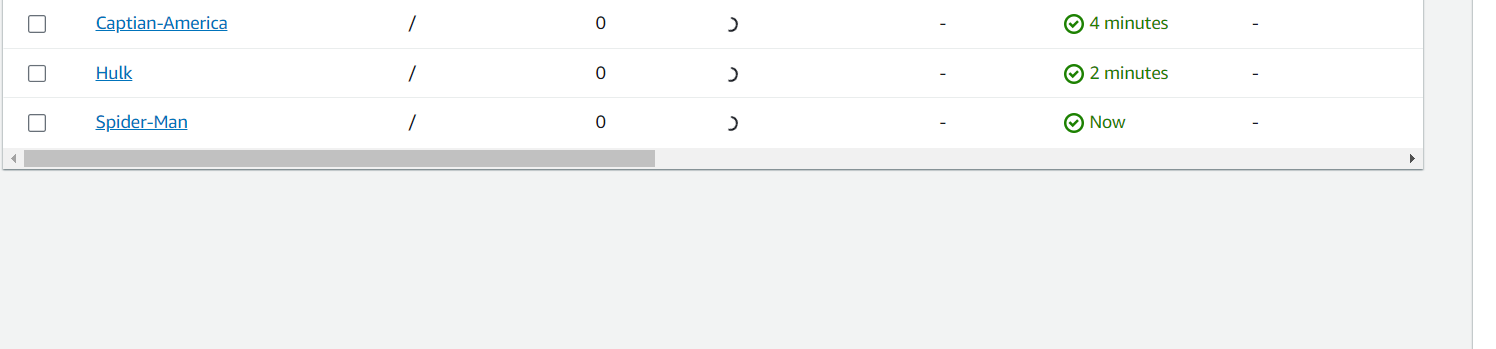
Create a avengers devops group by clicking on the "User Groups" link in the left-hand menu and clicking on the "Create New Group" button.
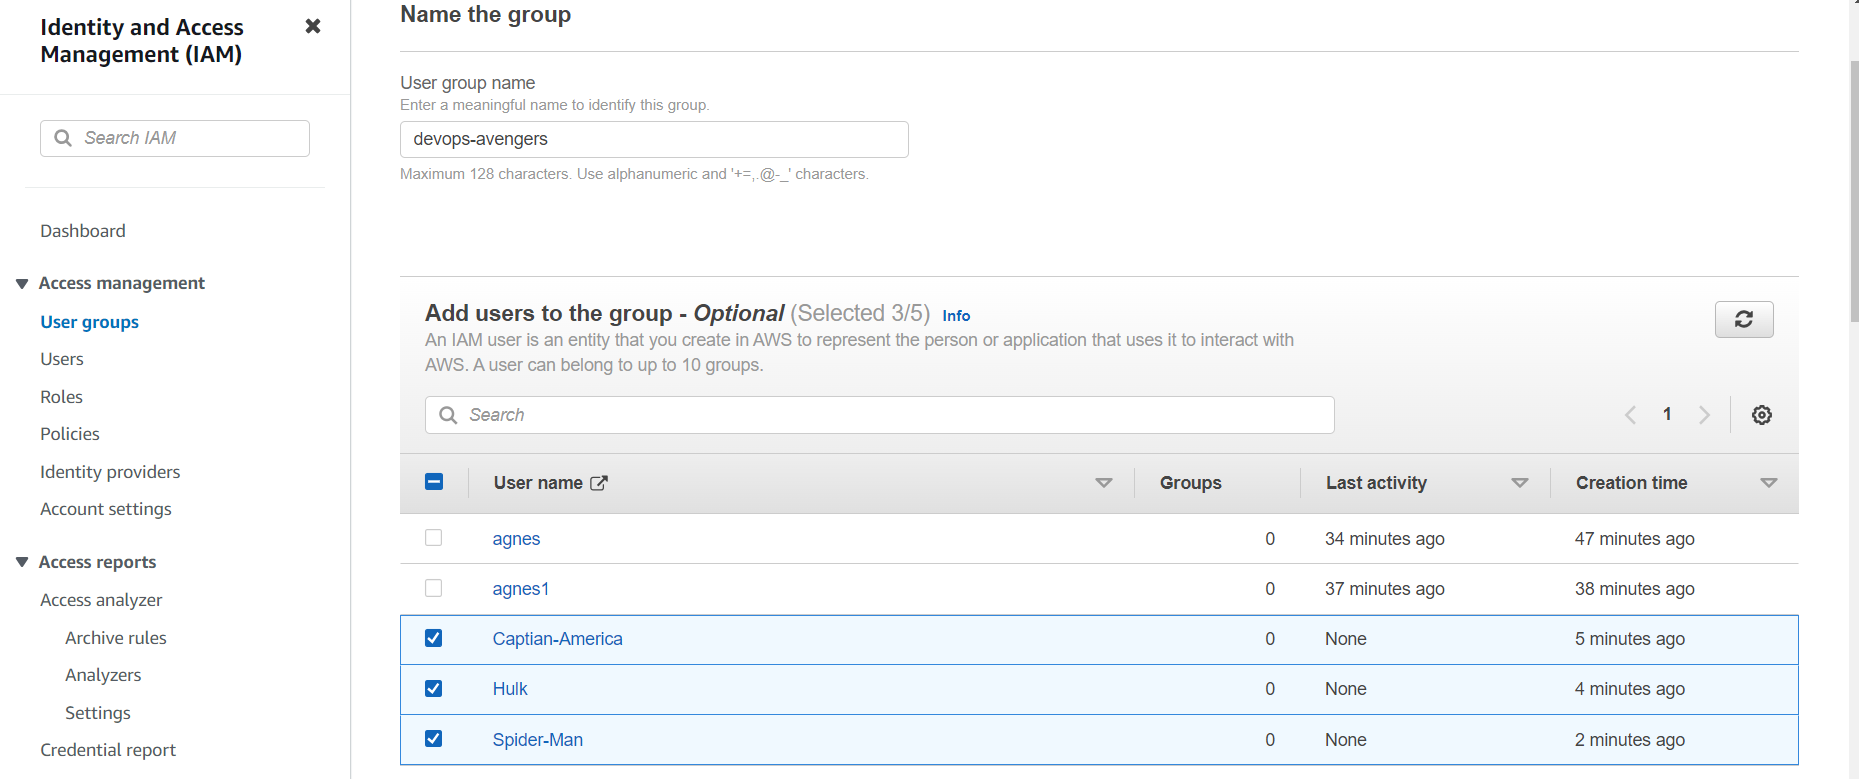
In the "Attach Policy" step, search for and select the "AmazonEC2FullAccess", "AmazonS3FullAccess", and "AmazonRDSFullAccess" policies.
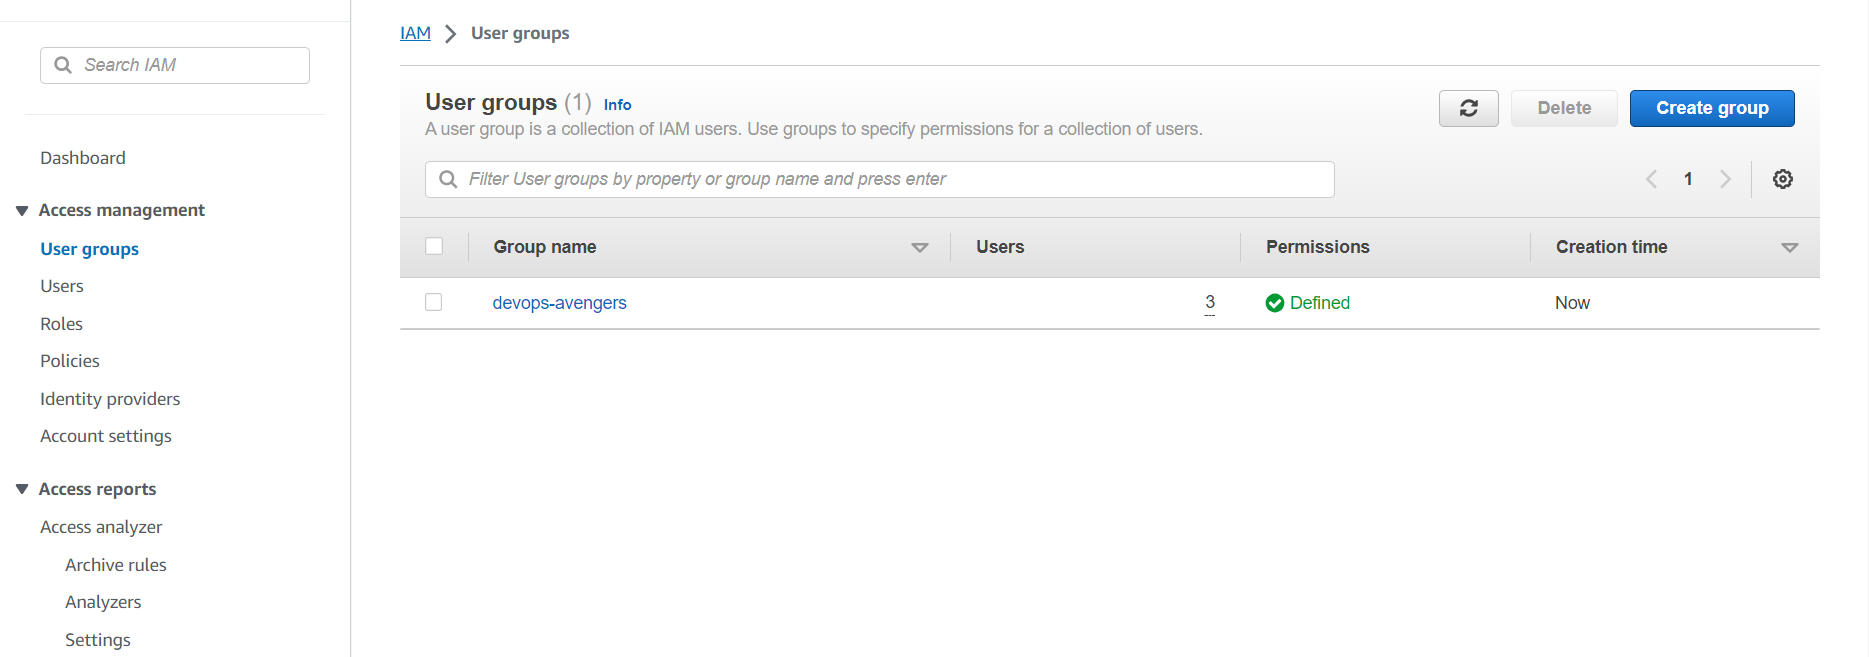
Click on the "Create Group" button. below Group DevOps-avengers is created with 3 users.
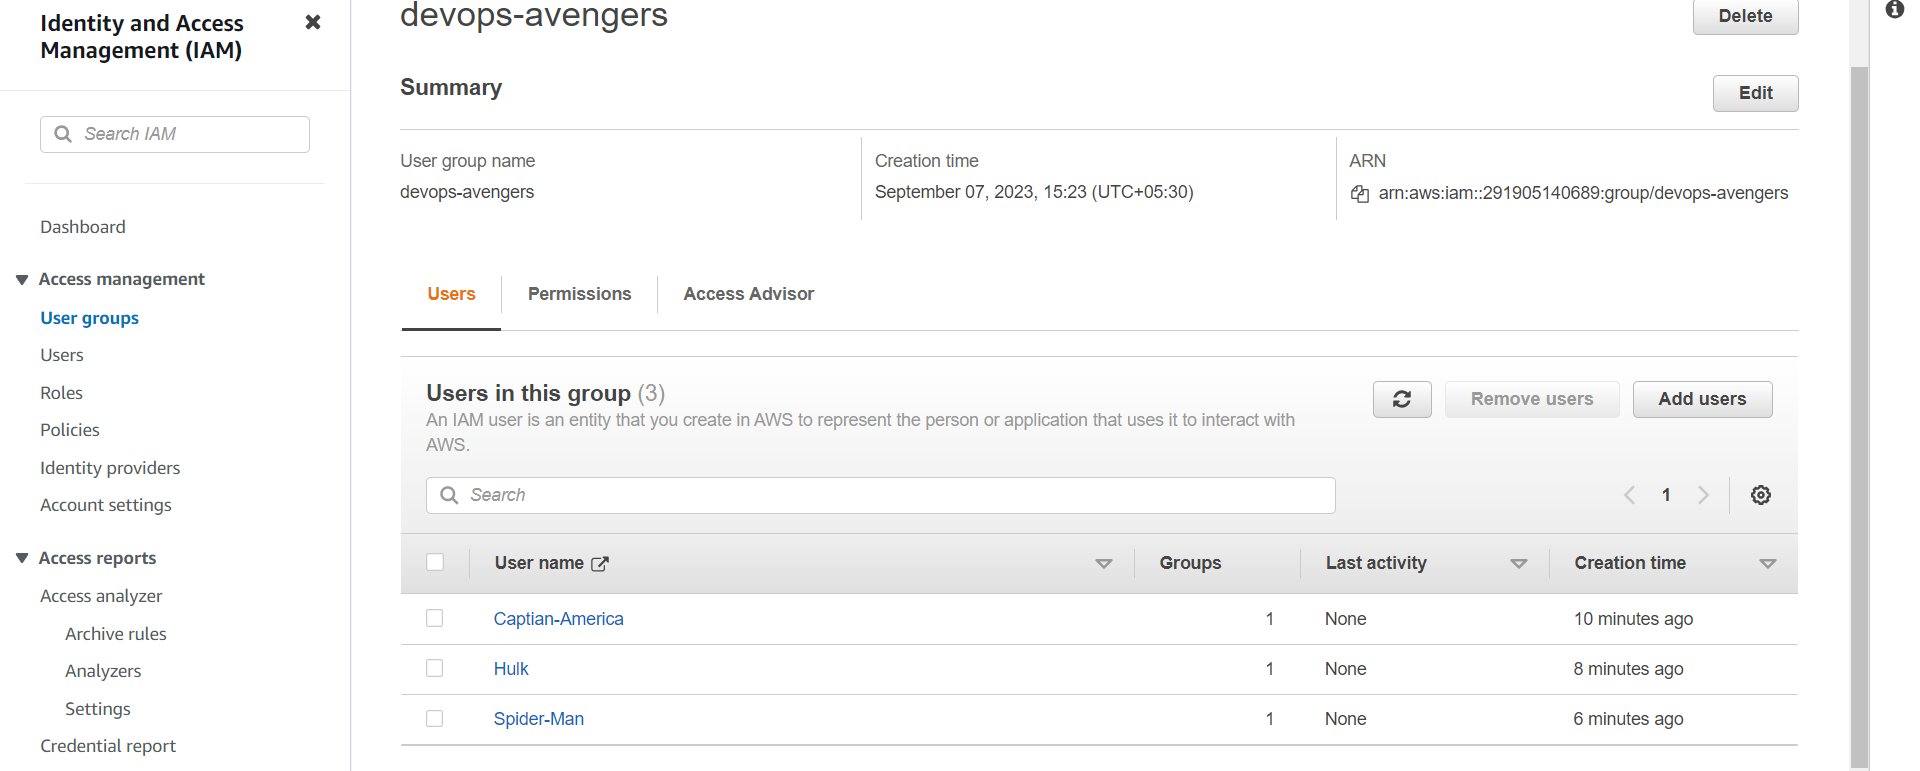
Now you have successfully added users in the Avengers group.
Hope you find this article helpful!
Happy Learning!


